|
|
|
|
|
|
|
PRINTMAKING intaglio page two - techniques
PRINTMAKING
|
|
 |
|
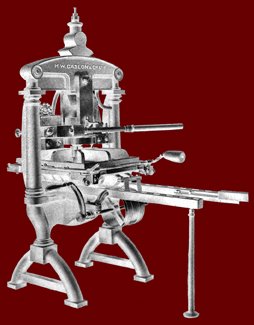
LINE ENGRAVING
Traditional line engraving on metal was a technique employed by goldsmiths before the age of printing, so the technique was easily adapted as a way of reproducing illustrations by the early printers and publishers. However, due to the difficulties presented by the engraving process, as it required a different type of press to the one being used to print the text, copper plate engraving was more often than not used for specialist publications, while the woodcut was more commonly employed as a means of printing illustrations.
Examples of line engraving can be found in the work of Stubbs and William Blake.
When the plate is "inked up" the engraved lines hold the ink and produce the black lines while the rest of the surface is wiped clean so that these areas do not print.
|
|
 |
|
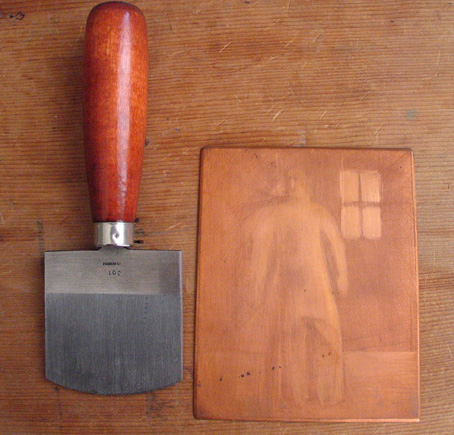
MEZZOTINT
Like line engraving on metal, the mezzotint process is labour intensive, however, it is a very satisfying process that gives a wide and subtle and very characteristic range of tones.
The process involves preparing the surface of the copper with a mezzotint rocker (on the left) which has a large number of "teeth", these produce a series of tiny indentations in the metal that will eventually serve to hold the ink. If the plate were to be printed in the primary state, after the whole surface has been covered with this texture, it would print solid black. The image is created by burnishing and scraping away the mezzotint surface in order to leave lighter tones. The more the metal is cleared away the lighter the tone until a smooth metal surface will print white. As the ink can be more easily wiped from these areas they will print from grey to white; while untouched areas will print black.
|
|
 |
|
|
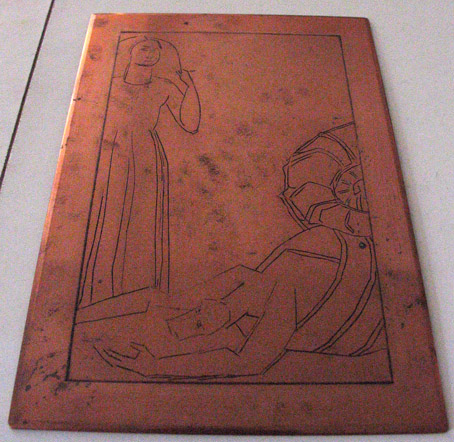
ETCHING ON COPPER
For most of us etching on copper is too expensive and either zinc or steel provides an adaquate and cheaper substitute.
One method of using copper, without the expense of normal plates, is to use the laminated copper-clad boards used in the electronics industry. The copper is very thin so no deep etching is possible but it takes line very well and you can use both sides of the board (you must buy double sided board). This plate was etched using ferric chloride and a hard ground, though it is possible that soft ground may work equally well.
|
|
 |
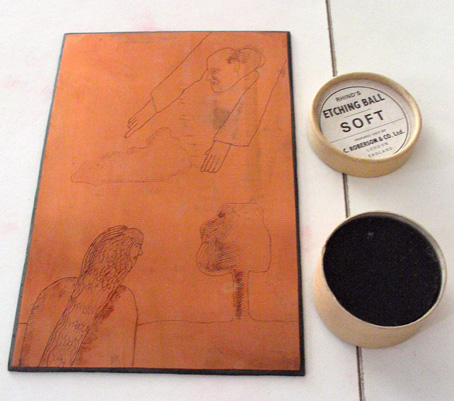
ETCHING
Once the surface of the plate (copper or zinc) has been cleaned and degreased some form of resist has to be applied to the surface. This performs two tasks, firstly it stops the acid from biting the surface and secondly it allows a design to be drawn into it.
Hard ground is perhaps more commonly used and this facilitates the use of line drawing with the finest of line.
Soft ground is a very flexible process. One approach is to use heavy-weight tracing paper. Place this onto the ground covered plate - the paper may already have a design traced onto it - then, with a broad, blunt pencil or the end of a brush, the design can be traced onto the plate. Knowledge of the amount of pressure required can be gained by experience but by lifting up a corner of the tracing paper you can check if the design is visible and the marks have penetrated the ground. Any blemishes you do not require should then be covered in varnish, but often the flaws and faults can add to the nature of the print. The plate is then etched.
AQUATINT
The traditional method of aquatint is through the use of a "shaker" that will dust the surface of a plate with a fine rosin powder, or by means of an aquatint box.
Rosin dust is a major health hazard and anyone using it should certainly consider the risks involved. A shaker can easily be made from a discarded tin can which is filled with rosin powder with the open end covered in several layers of muslin. This is then taped firmly in place. The more layers and the finer the muslin the finer the dust that lands on the cleaned and prepared plate.
An aquatint box is a major piece of equipment usually found only in workshops and art schools. It consists of a very large sealed box with a flap or door that can be sealed and closed tight. Inside there is a kind of grid attached to a handle and below this is a reservoir containing the fine rosin dust. The plate is placed on the grid and the flap closed. When the handle is turned (vigorously) the dust in the bottom of the box rises up and gently falls back onto the plate, and with experience the right amount of rosin will produce an even covering.
Once the rosin covered plate has been removed from the box it is heated in order to fuse the rosin to the plate. The very small, hard beads of rosin will now be resistant to acid.
The results can be of great interest, a good aquatint has a wonderful quality all of it's own as one can see from the work of someone like Rembrandt. However, for those involved in the process it can be quite unpleasant. There is the ever present danger of the dust leaking into the room, which inevitably it does each time one opens the flap. There is even the danger that the dust in the box may explode! But the worst part is reserved for the person who has to put his or her arm in the box to retreave a plate has fallen off the grid.
Personally, I love the effect of aquatint but there are other ways of producing similar results, such as spray paint. Though this too has it's own dangers and great care should be taken at all times.
|
|
 |
|
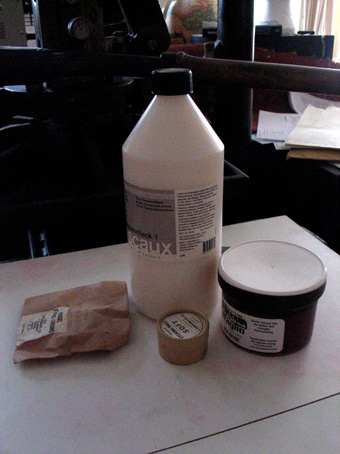
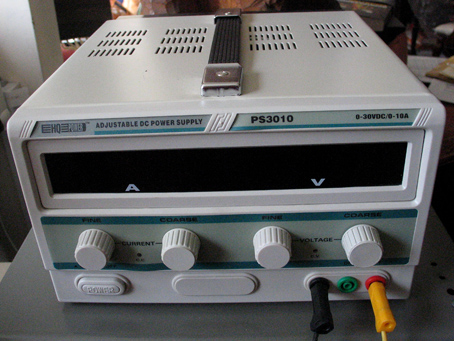
GALV-ETCH
With the introduction of "galv-etch" other types of ground are required such as the Lascaux varnish 2060, this can also be adapted to be used as a soft ground.
For an in depth account of how to use this process go to Cedric Green's excellent site:
I had some difficulty in buying the equipment in the UK but, once put to use it worked well, and I for one would not wish to go back to using even ferric chloride.
|
|
PLEASE BE AWARE
The text and illustrations contained on this site are not intended as instructions or as a practical guide to printmaking, they have been made quite simply as background material for anyone interested in prints and the qualities that are inherent in the use of particular processes. Anyone wishing to make prints should be aware of the risks involved and they should seek appropriate first hand instruction in the use of equipment and materials.
|
|
|
|
|
|
|
|
|
|